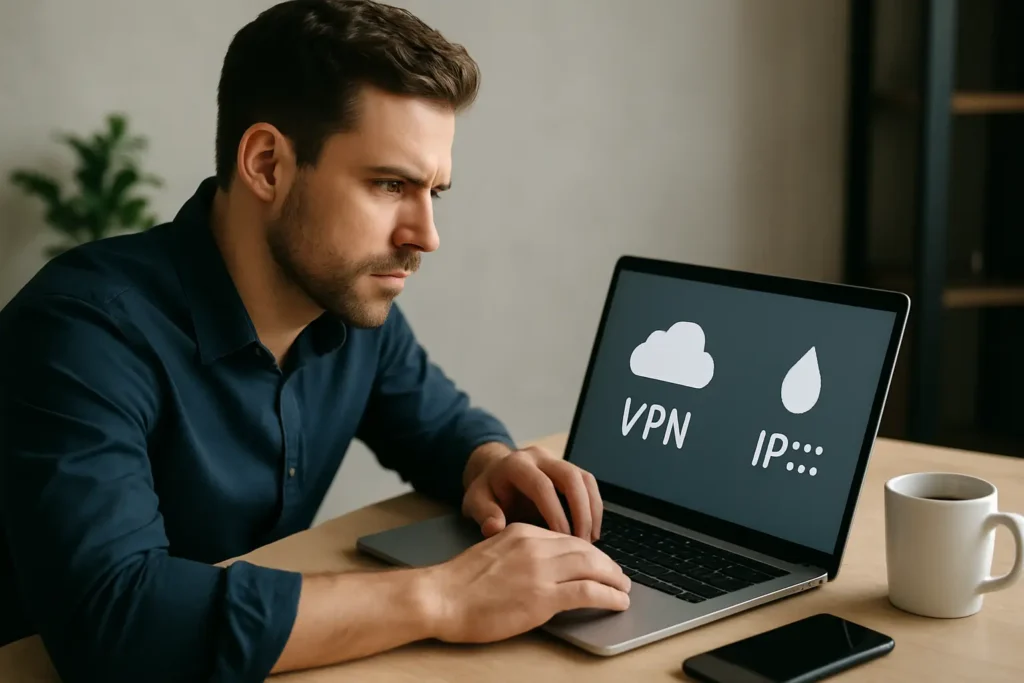
You turn on a VPN, refresh a page, and feel covered. Then a voice chat app loads, a browser-based game starts matchmaking, or a “quick support” site runs a connection test – and suddenly you wonder: did I just hand over my real IP anyway?
That worry is valid because WebRTC can expose network details in ways that don’t look like a normal “what’s my IP” check. The good news is you can verify it quickly if you know what to look for and you test it the right way.
What WebRTC is actually doing (and why it can leak)
WebRTC is a browser technology that enables real-time communication – think voice, video, screen sharing, and peer-to-peer connections. To make those connections work, the browser may gather and share candidate network routes using a process called ICE (Interactive Connectivity Establishment). That ICE process can reveal IP addresses tied to your device or network.
A “WebRTC IP leak” is when a website can learn an IP address you didn’t intend to reveal. That might be your local/private IP (like 192.168.x.x), your ISP-assigned public IP, or an IPv6 address that bypasses your VPN tunnel. Which one appears depends on your browser, VPN configuration, and whether IPv6 is enabled.
Here’s the trade-off: WebRTC is useful. Disabling it can break certain calls or browser apps. But leaving it unrestricted can expose IP information that defeats the whole point of using a VPN for privacy.
How to test WebRTC IP leak the right way
Most people run one check, see their VPN IP, and assume everything is fine. WebRTC leaks can slip past that because you can show one public IP on a basic lookup page while WebRTC still exposes another address via ICE candidates.
A reliable test has three parts: establish your baseline, test with protection on, and interpret which IPs matter.
Step 1: Get a clean baseline without your VPN
Start with your VPN fully disconnected. Close your browser completely (not just the tab) and reopen it. This matters because some browsers keep network state around longer than you’d expect.
Now check what your public IP is. Any standard “My IP” readout works here. You’re simply recording what your ISP IP looks like so you can recognize it later.
If you want a quick one-stop check for your current IP and related details like ISP/ASN and IP version, you can use InstantIPLookup.com once, note the public IPv4 or IPv6 you see, and then move on.
Step 2: Turn your VPN on and confirm the obvious first
Connect to your VPN and refresh your browser. Check your public IP again. You should now see a different IP tied to the VPN provider, often in a different city or state.
If your IP did not change, stop here. That’s not a WebRTC leak problem – your VPN connection likely isn’t active in the browser you’re testing, or you’re dealing with split tunneling where only some traffic goes through the VPN.
Step 3: Run a WebRTC leak test and look for multiple IPs
Now you’re ready for the actual WebRTC part. A WebRTC leak test page typically lists “WebRTC detected IP addresses” or ICE candidates. The key is that it may show more than one address.
You’re looking for any address that matches your baseline ISP public IP, or any address that points to your real network when your VPN is supposed to be masking it.
Expect to see a mix of these:
- Private IP addresses like 192.168.x.x, 10.x.x.x, or 172.16-31.x.x. These are internal LAN addresses. Seeing them is common and not always a critical privacy issue by itself, but it can help fingerprint your device.
- VPN public IP address. This is what you want to see as your public-facing identity.
- ISP public IPv4. If this appears while the VPN is on, that’s a clear leak.
- IPv6 addresses. These can be legitimate and safe if they belong to the VPN, but they are often the source of “I thought I was protected” surprises.
Interpreting results: what counts as a real leak?
Not every IP shown in a WebRTC test is equally dangerous. What matters is whether a site can link you back to your real, ISP-assigned internet connection.
If you see your ISP public IP while the VPN is on
Treat this as a real leak. It means a site can potentially identify your actual network even though your VPN is connected. That defeats the privacy goal for anything from streaming and gaming to account security and fraud prevention.
If you only see private/local IPs
This is a gray area. A private IP doesn’t reveal your street address, but it can still contribute to fingerprinting, especially when combined with other browser signals. For most everyday users, the bigger concern is public IP exposure. For higher-risk privacy needs, you may still want to lock it down.
If IPv6 shows up
IPv6 is where a lot of VPN setups fall short. If your WebRTC test shows an IPv6 address, you have to determine whether it’s the VPN’s IPv6 or your ISP’s IPv6.
If your “My IP” check shows only IPv4 but WebRTC shows an IPv6 that traces back to your ISP, you have a leak path. Many services and apps can use whichever route is available.
Why WebRTC leaks happen even with “good” VPNs
People assume a VPN is a single switch that covers everything. In reality, your browser, OS, and network stack decide how to route different types of traffic, and some VPNs handle IPv6 and WebRTC-related pathways better than others.
Common causes include:
- IPv6 not tunneled by the VPN, while your ISP provides IPv6 by default
- Browser behavior that exposes ICE candidates even when traffic is otherwise routed through the VPN
- Misconfigured split tunneling, especially on work devices
- Extensions or privacy settings that conflict with the VPN’s leak protection
It’s also worth knowing that browsers have changed WebRTC behavior over time. A result you got six months ago may not be what you get after a browser update.
Fixing a WebRTC IP leak (without breaking everything)
If your test suggests a leak, you have a few options. Which one is best depends on why you use WebRTC.
Option 1: Use your VPN’s built-in leak protection
Many reputable VPNs include WebRTC leak protection and IPv6 leak protection. If you have those toggles, enable them and re-test.
This is the cleanest fix because it’s designed to protect you without forcing you to change how your browser works day to day.
Option 2: Disable IPv6 at the device level if it’s the culprit
If WebRTC is exposing your ISP’s IPv6 address, disabling IPv6 can be a practical workaround, especially on a home network where you control the device.
The trade-off is that some networks and services perform better on IPv6, and you’re choosing compatibility simplicity over future-facing networking. For most users, the privacy upside is worth it if your VPN doesn’t properly tunnel IPv6.
Option 3: Adjust browser settings or use a WebRTC-control extension
Some browsers allow limiting WebRTC’s ability to expose local network details. Others require an extension that restricts WebRTC features.
The trade-off here is obvious: you might break in-browser calling, certain meeting platforms, or peer-to-peer apps. If you rely on browser calls for work or customer support, test this change before you commit.
Option 4: Use a different browser profile for “privacy mode” tasks
This is an underrated approach for remote workers and small-business users. Keep one browser profile configured for maximum privacy (VPN on, hardened WebRTC behavior, minimal extensions), and another profile for day-to-day tasks that need convenience.
It’s not about paranoia. It’s about reducing accidental exposure when you’re doing higher-stakes activities like accessing financial accounts on hotel Wi-Fi, moderating communities, or investigating suspicious links.
Testing scenarios that trip people up
A WebRTC leak test is not one-and-done. You should re-test when your setup changes, and there are a few specific moments when leaks pop up.
If you switch VPN servers, re-test. Some providers route traffic differently depending on location.
If you change browsers or install a “privacy” extension, re-test. Extensions can change behavior in ways that aren’t obvious.
If you move from home Wi-Fi to coffee shop Wi-Fi, re-test. Network conditions and IPv6 availability can change.
And if you’re on a managed work device, assume policies may override settings. Corporate security tools can enforce proxy rules or split tunneling for certain apps.
What “passing” looks like
A clean result usually looks like this: your public IP is the VPN’s IP, and any WebRTC-detected public IPs also match the VPN. You might still see private IPs, but you should not see your baseline ISP public IPv4 or ISP-assigned IPv6.
If you can consistently reproduce that outcome across different sites and after browser restarts, you’re in a good place. If your results are inconsistent, that’s a signal to tighten configuration, because privacy failures are rarely convenient – they happen when you’re distracted.
If you’re serious about anonymity, the simplest rule is this: don’t trust the VPN label. Trust the test, and repeat it any time your browser, network, or VPN settings change.
Comments (0)